
John Deere Lx176 Mower Deck Belt Diagram – Belt diagrams offer a visual representation of the routing and layout of belts in various mechanical systems. These are diagrams of visual representation that show how belts are mounted around components. This can be useful to engineers, mechanics and DIY enthusiasts working on HVAC systems, engines, or other belt-driven machinery.
Types Of Belt Diagrams

- Serpentine belt diagrams could be used in situations where a single belt is driving multiple devices, such as an alternator or power steering pump.
- Timing-belt diagrams illustrate how and where to align the timing belt. It connects the crankshaft to the camshaft(s) and ensures that the valve is properly timed.
- V-belt diagrams depict the location of several V-shaped belts within older engines or in specialized systems, each of which drives each component.
The Key Components of Belt Diagrams

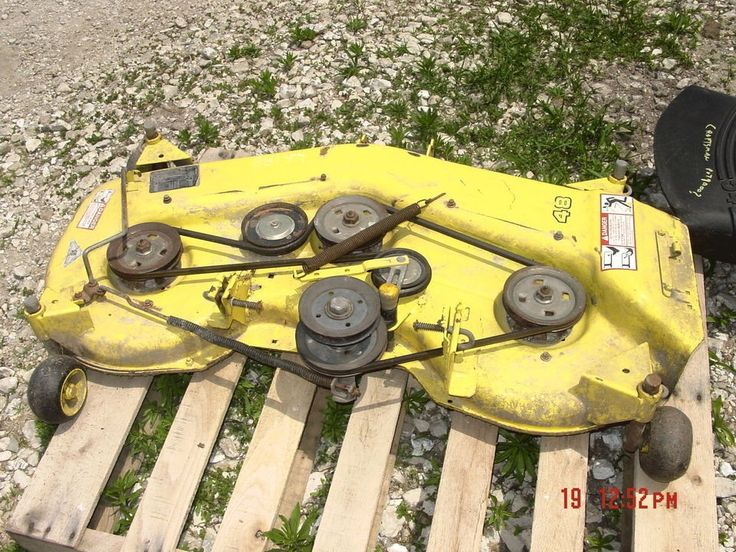
- The Pulleys are circular machines where belts are wrapped around, transferring energy to one part.
- Belts, the elastic bands that transfer the power between pulleys are known as
- Tensioners ensure a consistent tension on the belt to avoid slipping and ensure that it is working effectively.
How can I understand a Belt Diagram
- Understanding symbols helps to identify components and routing patterns in the diagram.
- This diagram illustrates the arrangement of key elements, including pulleys, belts, and tensioners.
- Understanding routing patterns lets you to observe how the belt moves and impacts various elements.
The following is a step-by- process guide for creating a Belt Diagram:
- Gathering Important Information Measure, define and place components, belts and their arrangement precisely.
- Sketch an initial layout: Draw an outline of the layout of the system with each pulley and tensioner.
- Add tensioners and pulleys. Label each pulley with its component (e.g. power steering pump or alternator).
- Draw the Belt Routing Diagram: Sketch out the path of the belt(s) around pulleys making sure it follows industry standards or specifications from the manufacturer for the proper routing.
- Revise and improve your diagram: Double-check all of your work to ensure accuracy. making any changes necessary to produce a clear, straightforward diagram.
Tips and Tricks for Belt Diagram Design
- Utilizing software tools can make designing professional-looking drawings easier to create, more precise, and more efficient.
- For creating a precise and useful belt diagrams, it’s important to get accurate information from the specifications of the manufacturer service manuals, or other trustworthy internet sources.
- Double-checking your diagram for errors prior to finalizing your diagram guarantees accuracy and dependability, eliminating any potential problems or confusion that might arise when performing repairs or maintenance.
Conclusion
It is important to be confident and competent in the capability to create belt diagrams for those who work with belt-driven system. You’ll be better prepared to tackle any project that involves belts or pulleys if you are familiar with the various types of diagrams as well as their components. Our suggestions and tricks can assist you in creating clear, precise diagrams that will improve your efficiency.
Gallery of John Deere Lx176 Mower Deck Belt Diagram


